
Step 1: Download the Autoresponder
1. In the top menu bar, hover over Automation and choose Autoresponders

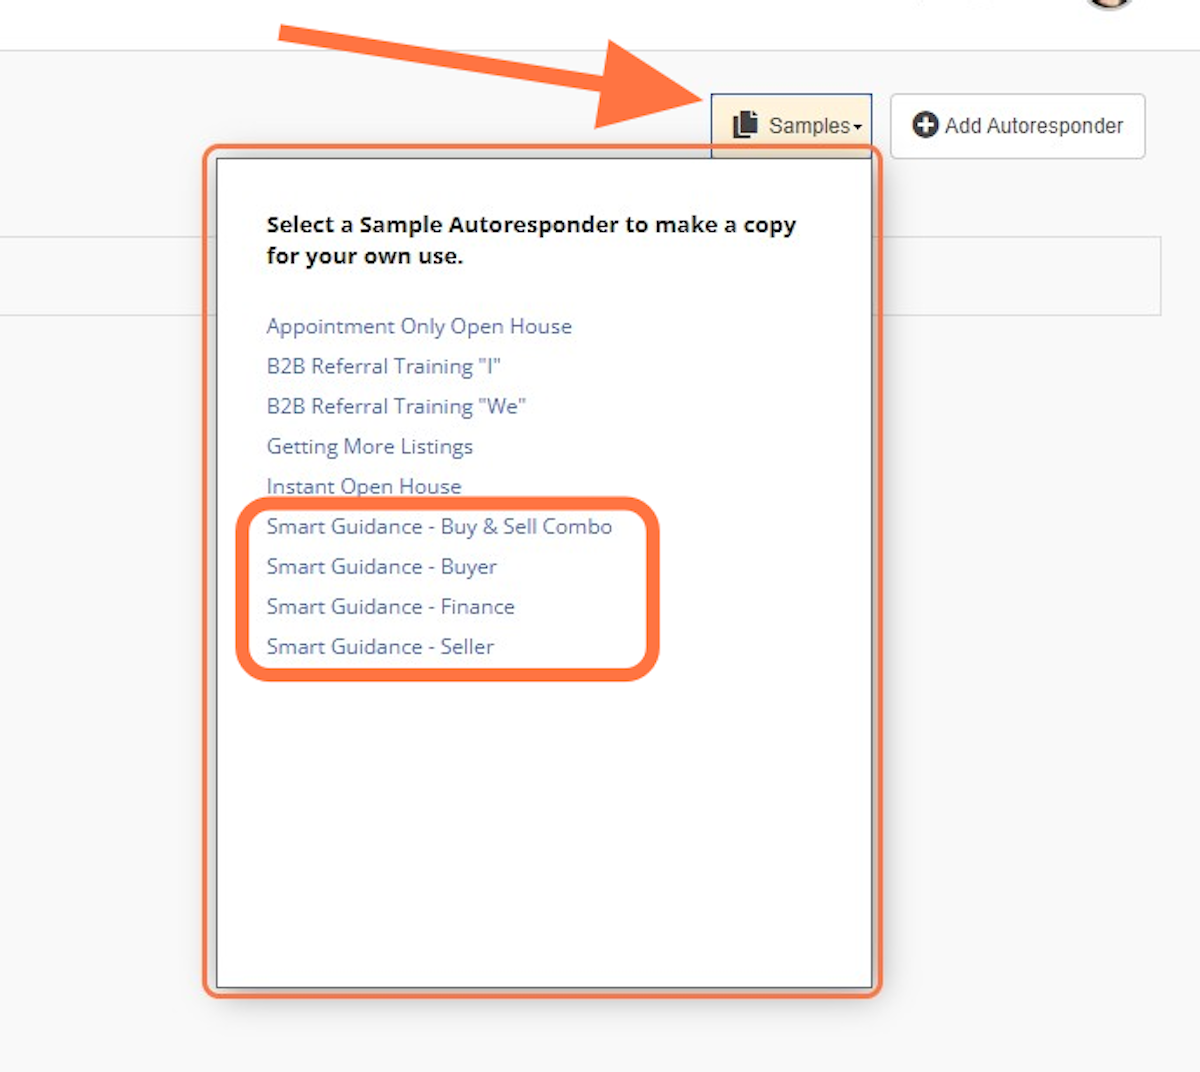
2. Click Samples and choose the Smart Guidance campaign you'd like to use
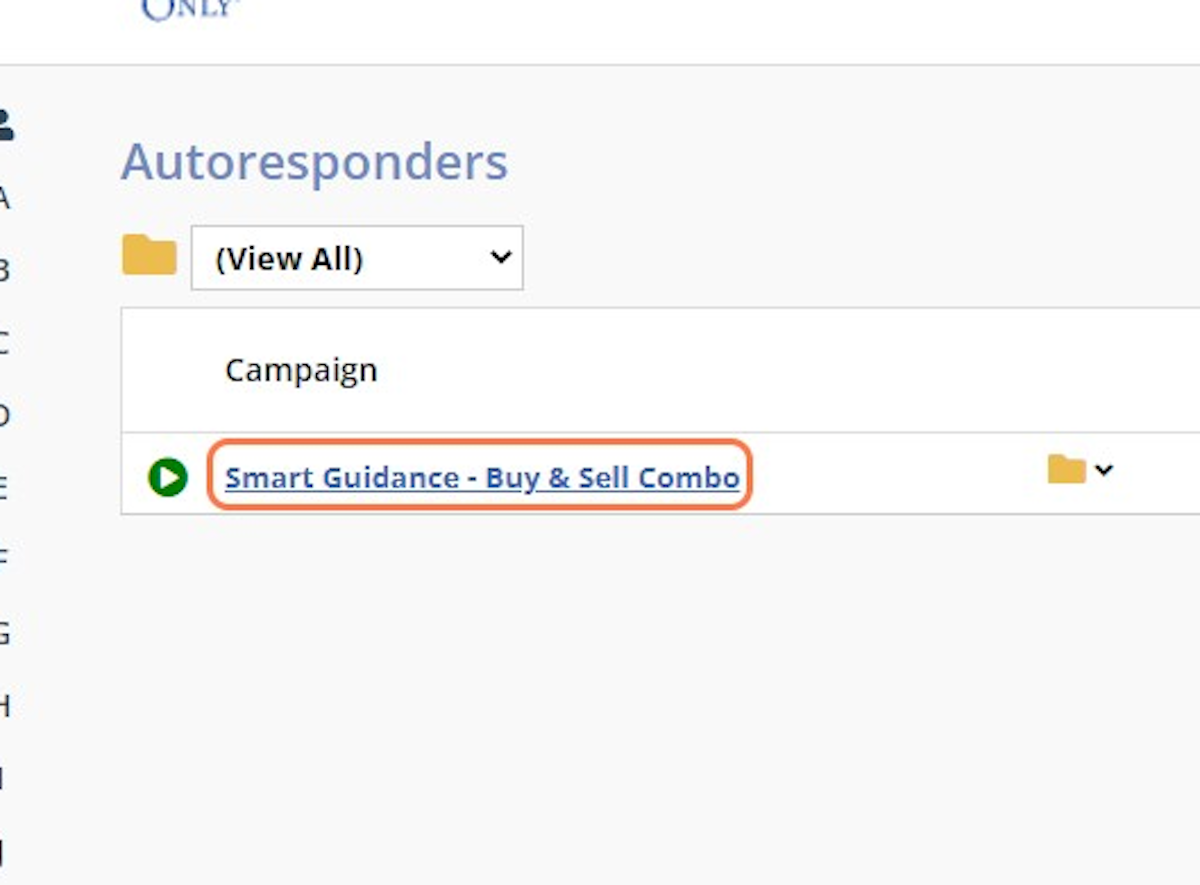
3. To review the full text of each email, click the Autoresponder title
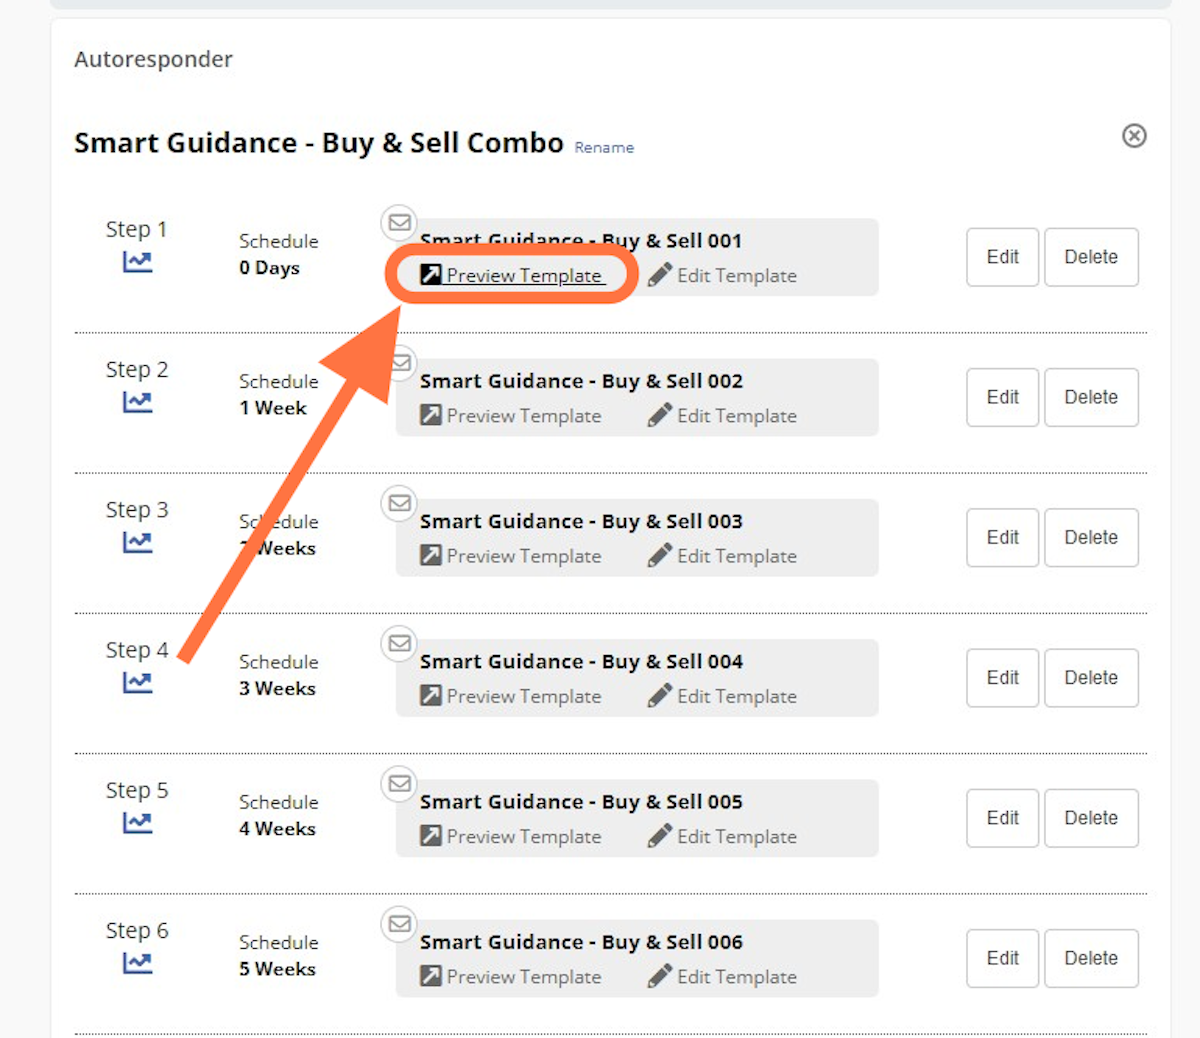
4. Next, click the Preview Template button under each template you would like to review
A new window will open and display the email text.
Step 2: Download and Customize the Landing Page
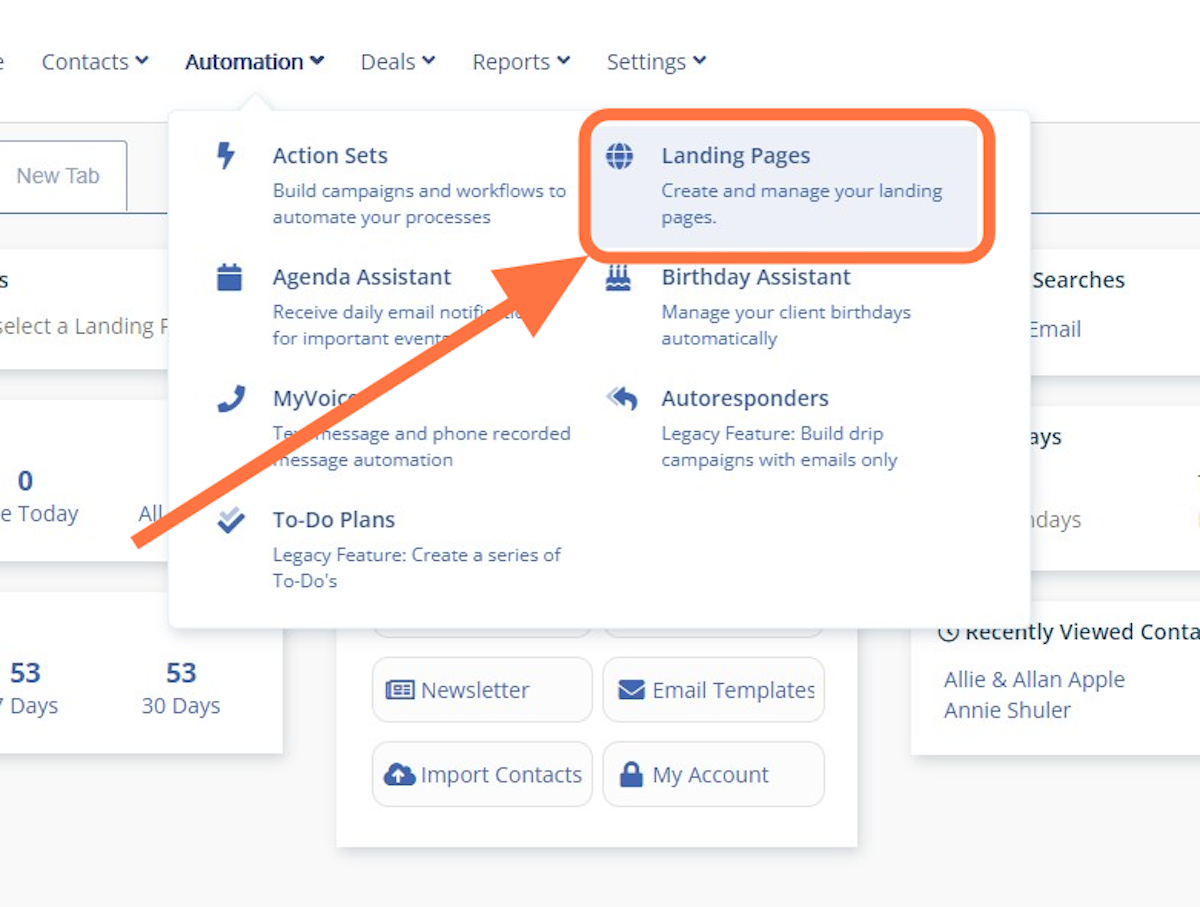
1. In the top menu bar, hover over Automation and choose Landing Pages
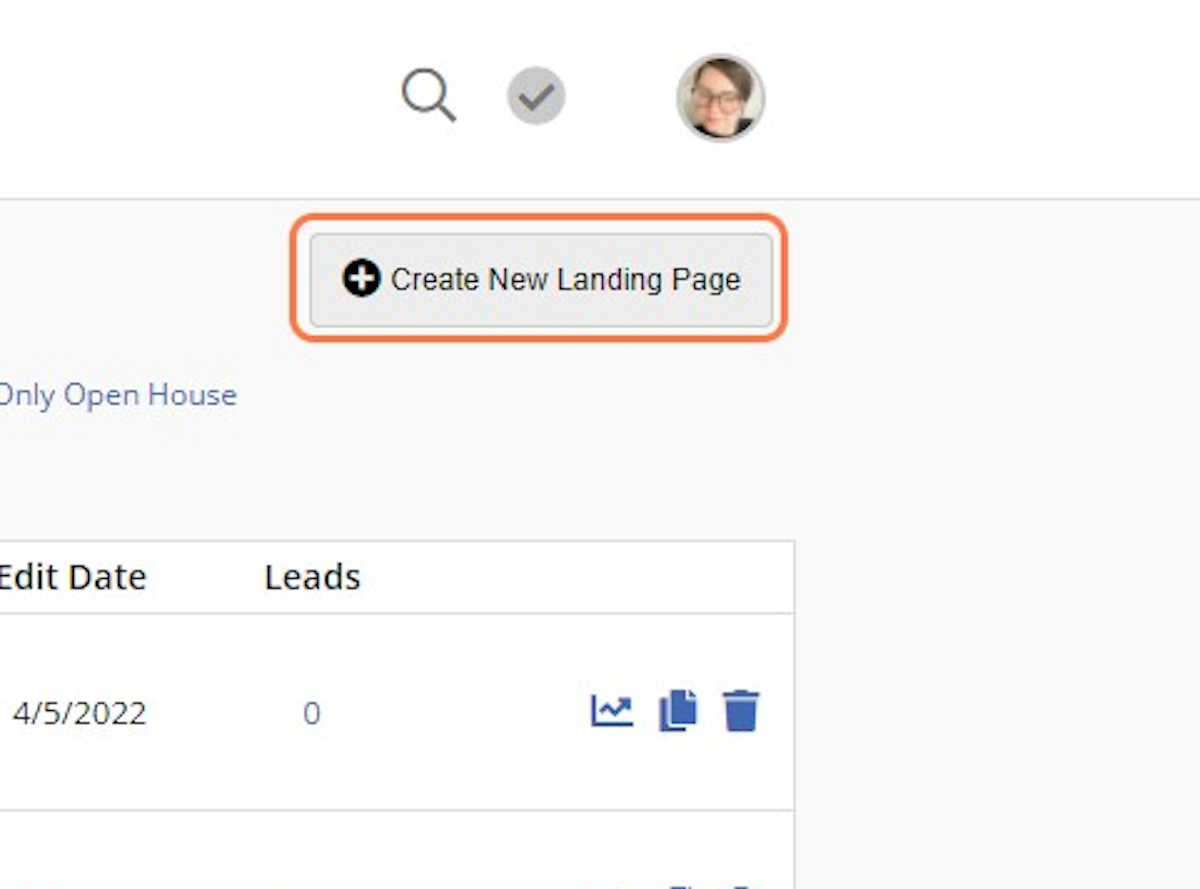
2. Click on Create New Landing Page & locate the Smart Guidance Prospect Funnel landing page
3. Click on Create & Start Editing to download
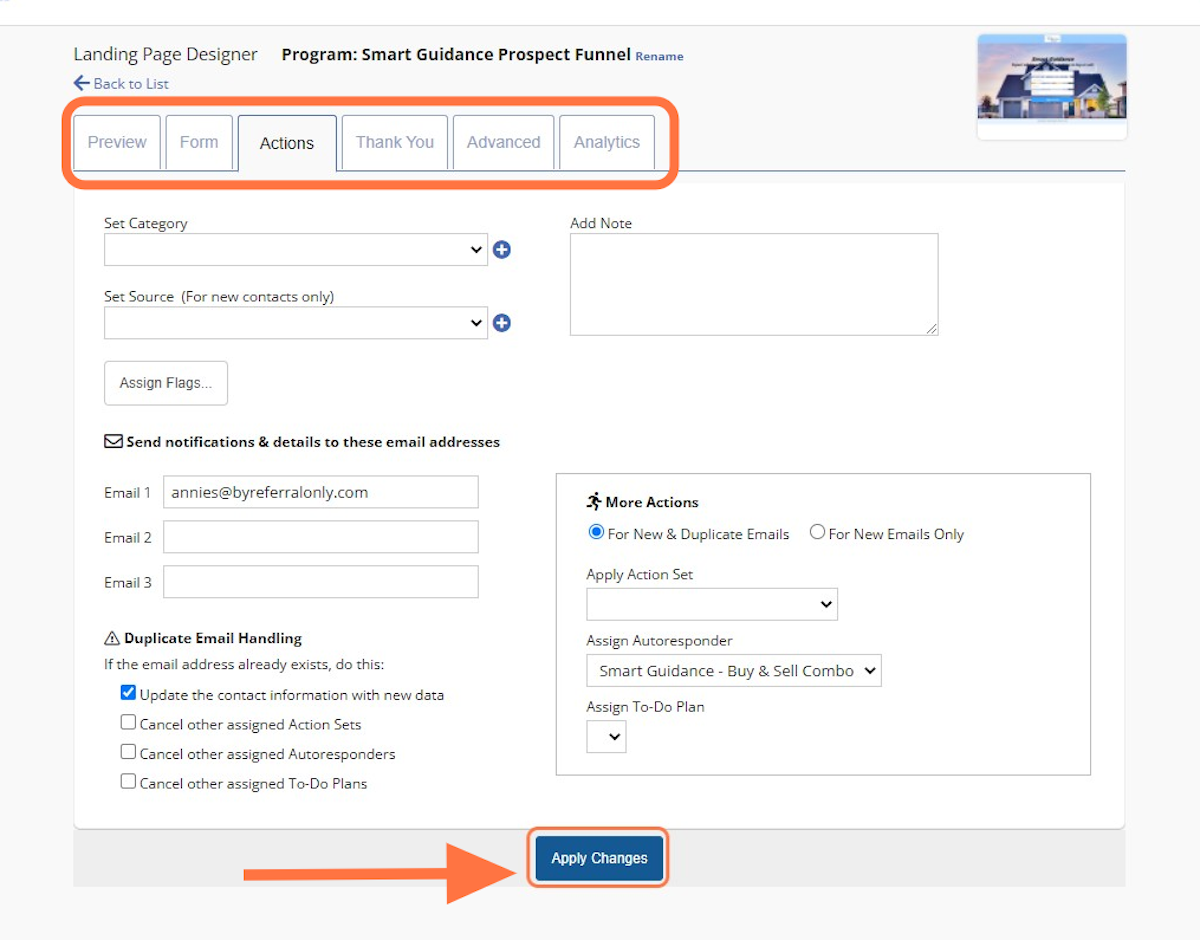
4. Your Landing Page is now downloaded. Before using, you'll want to apply your Smart Guidance Autoresponder to the page.
Open the landing page & click on the 'Actions' tab
In the Assign to Autoresponder drop-down, select the Smart Guidance autoresponder you downloaded.
You will also want to enter your email address in the Email 1 field.
When a prospect fills out your page you will receive an email with notification.

Click on Apply Changes to save.
Your Smart Guidance Prospect Funnel is ready to be used!
If you need additional help:
Please contact your Support team:
We are happy to help :)
support@byreferralonly.com
800-950-7325 Ex 3401
Comments
0 comments
Please sign in to leave a comment.