Adding a signature in Gmail is a great way to personalize your emails and make them more professional.
How to create an email signature in Gmail: Windows or Mac
- Open Gmail in your browser (we're using Chrome for this example) by typing “mail.google.com” in the address bar.

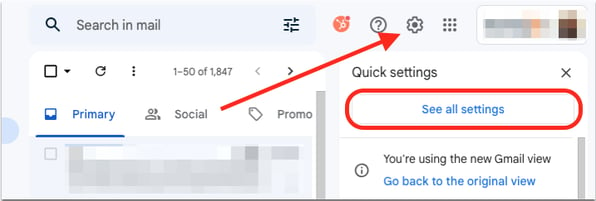
- Click the gear icon in the top right-hand corner and select “See all settings” from the drop-down menu.
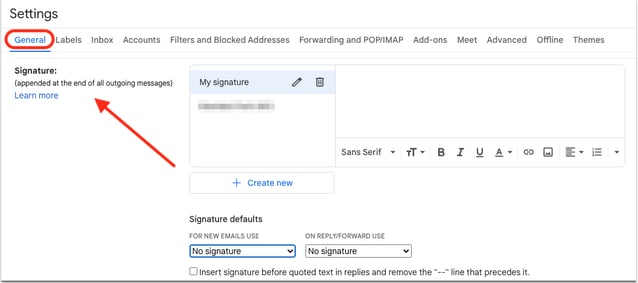
- In the “General” tab, scroll down to find the ”Signature” section.
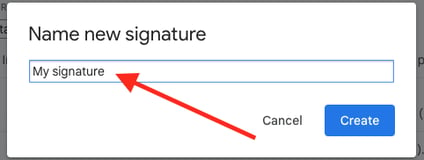
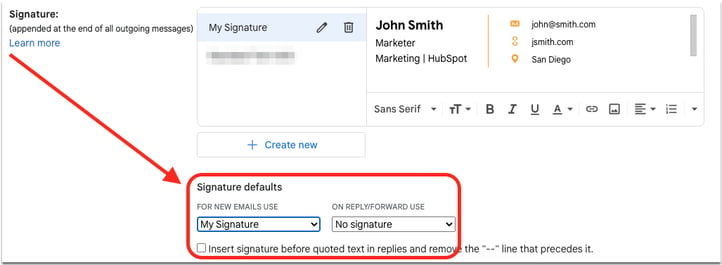
- Click on “+ Create New”, insert the internal name of your signature then select “Create.”
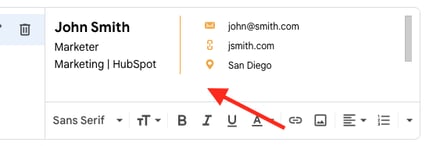
- Type your signature into the box provided or paste it directly from HubSpot’s Email Signature Generator. You can use basic HTML formatting here, such as bold or italics.
- Once you're happy with your signature, choose when you want it to appear by navigating to “Signature Defaults.” Use the dropdown menus under “FOR NEW EMAILS USE” and “ON REPLY/FORWARD USE” then select your signature or “No signature”.
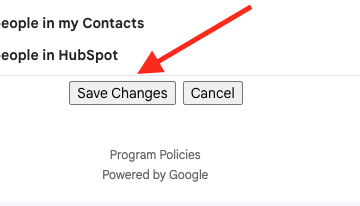
- Scroll to the bottom of the page and click ”Save Changes.”
- That's it! Your signature will now be automatically inserted to the end of any emails you send from Gmail.
How to add a signature in the Gmail app
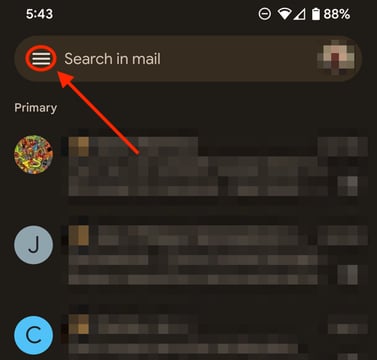
- Open the Gmail app and go to the Settings menu.
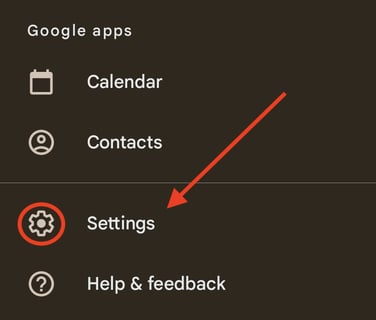
- Tap on the “Settings” tab.
- Scroll down to the “Mobile signature” section and tap on it.
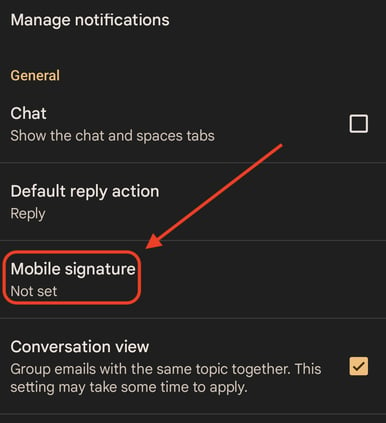
- Enter your signature in the box provided.
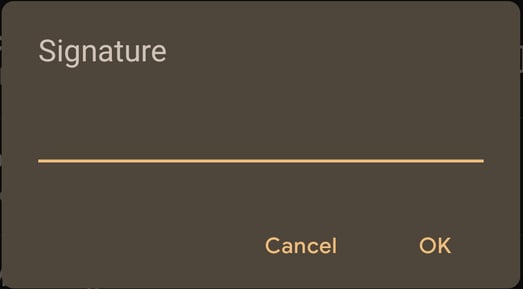
- When you're finished, tap on ”OK”.
Once done, it’s important to make sure that your mobile signature is not too long.
FAQ:
Why is my signature not showing up in the Gmail app
If your signature isn't showing up in the Gmail app on iPhone, make sure that you've turned on the “Show signature” option in the Settings menu. To turn off the signature, tap again on “Show signature.”
If you need additional help:
Please contact your Support team:
We are happy to help :)
support@byreferralonly.com
800-950-7325 Ex 3401

Comments
0 comments
Please sign in to leave a comment.